Monday, 12 September 2016

Witley Court

Back at the start of June we were taken to Court in Worcester to photograph the ruined stately home and the beautiful gardens surrounding it. Earlier that day we had been given a brief to follow so we knew what type of photographs to take even if that meant drifting away from the style we were used to.

The client, English Heritage, wanted some new advertising material and the brief stated that the images needed to appeal to 20-30 year olds. After a little bit of brainstorming I had come up with a few ideas as to how I would capture this place to entice a younger audience.

One of the ideas I had was to shoot through my iPhone camera. The majority of 20-30 year olds use a camera phone and share their images on social media, so I wanted to try and show that in my photos. I don't really think this worked too well as the difference in brightness between my iPhone screen and the background was just too much which meant I had to quite considerably overexpose my images to make my phone screen visible.

Another idea I had was to shoot instant photos on my Instax camera and hold those in front of what I had just taken a photo of. Although this worked quite well in practice I don't feel as though those images look that professional, as my nail varnish is quite chipped. I do however like this style and would definitely do something similar in the future.
As I wasn't sure I really hit the brief with the photographs alone I now needed to try and think of a way to do so with my editing. One style of photography I'm becoming more interested in is fashion and editorial style photography; I read a lot of fashion magazines and I've started to pick up inspiration from them. Although these photographs have nothing to do with fashion I thought I could apply some fashion inspired editing to them. 

One thing I see a lot in fashion photography is borders. I thought I could add some strong borders to my images to give them a 'young' feel. First I added a simple white border and although I did really like the outcome I still felt that the image looked too traditional. 

I did like the 'postcard' effect that the white border gave my image, however I needed to add a border that would make the image appeal to a young audience. I came up with the idea of repeating my image several times, meaning the border would just be that same image but slightly bigger. 


Overall I am very happy with my final images and I do feel that I have completed the client's brief. Although I haven't ended up with as many final images as I would have liked, the 8 I do have are of a good standard.

x

Fashion Photography Workshop

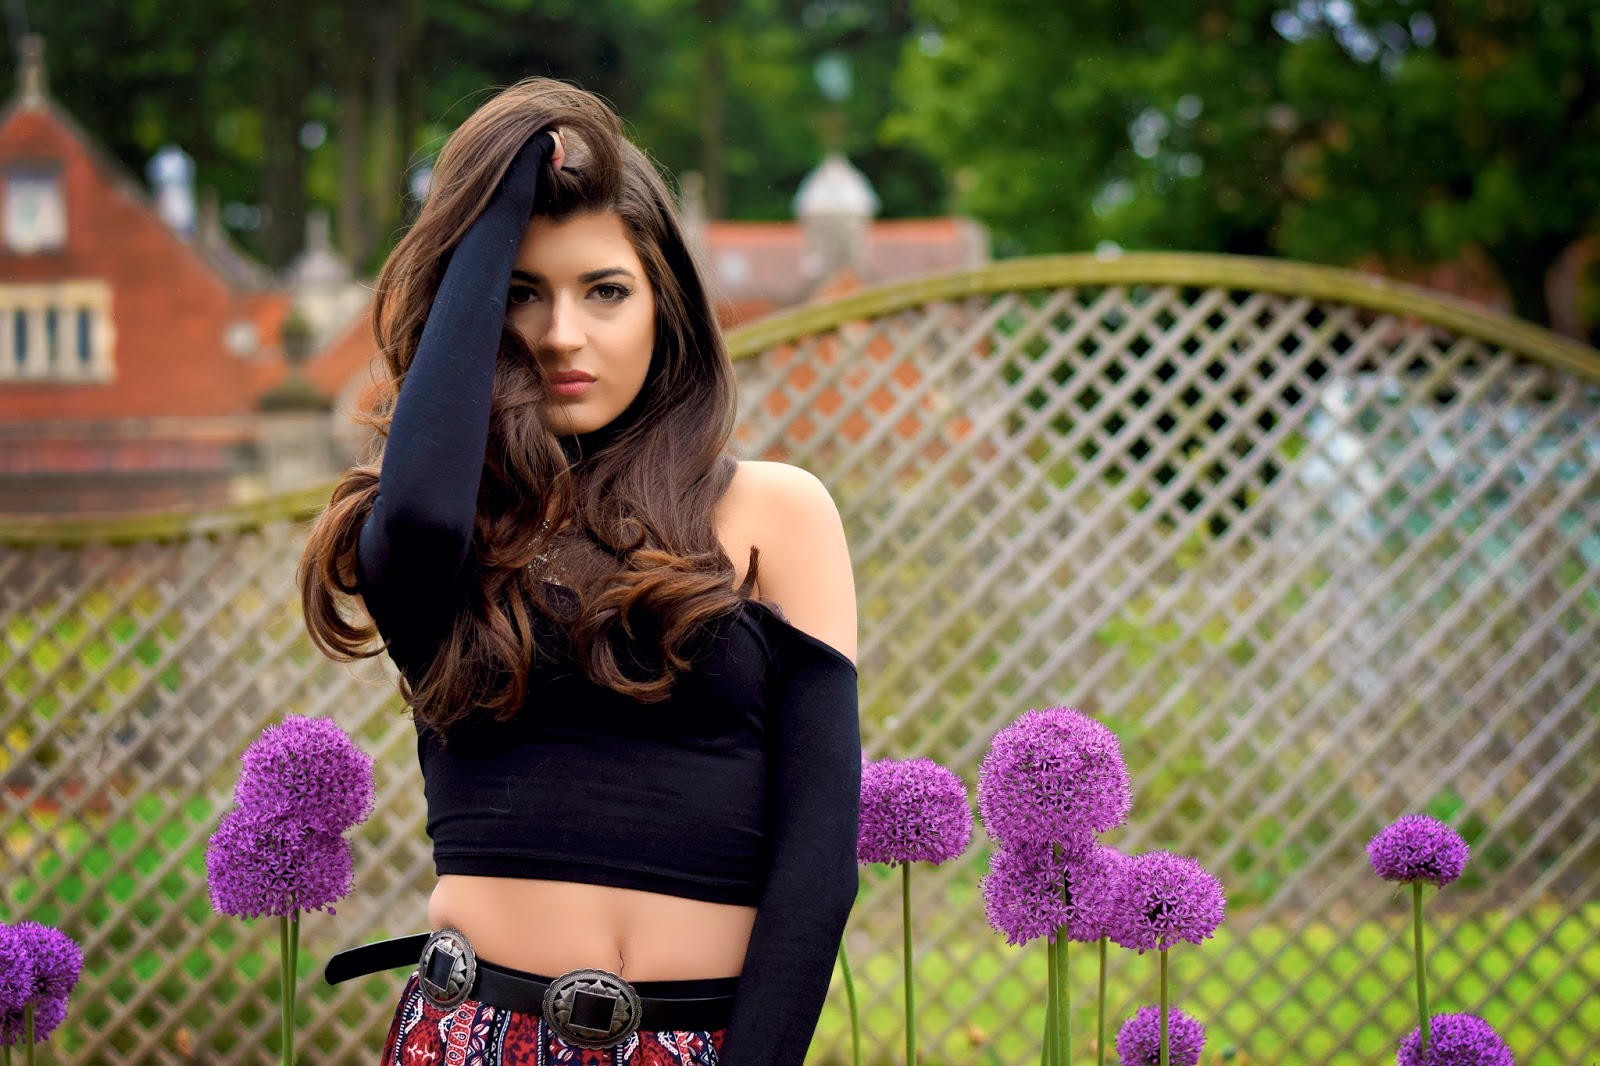
Before May half term we all completed a Fashion Photography workshop with Talia White. I've never really done fashion photography before so to say I was nervous about shooting a professional model would be an understatement. Before the model arrived Talia showed us some of her work to get a feel for what she does and to get some inspiration for when we take our own photographs.

For this shoot I used my Nikon D5300. For the first part of the shoot I used a 50mm lens, then  I swapped over to my standard 18-55mm kit lens to see the difference. It was clear to me that the 50mm was the much better lens for this shoot as it gives the images a greater depth of field. I also feel as though it makes the images sharper and generally makes them look more professional. I did much prefer using the 50mm lens for this shoot and put it back on my camera to take the last few photographs.

One of the major problems I came across during the shoot is making sure the models clothes are perfect. As the model moves around so do her clothes and as a photographer without a stylist its my job to notice when this happens. The sleeves of her top came down a few times during the shoot and her hanging straps were also on show occasionally, luckily I did happen to see that at the time. Unfortunately I didn't always see when her clothes were out of place and since looking back at the photographs I've noticed that her belt is sticking out in most of the photographs, this is something I cant fix with editing so I will have to pay more attention next time.

Another problem I had was trying to make each photograph different. If I was shooting a series of photographs for a magazine the client would expect several images, all of which should be noticeably different. Next time I work on a fashion shoot I will be more prepared with ideas for how I want the model to pose. I will also do more research into my location so I can quickly move the model around to stand in front of different backgrounds. 


I have since edited my final images from the shoot using Photoshop. To edit these images I changed the levels, turned up the vibrance, and added some actions. I had never previously used actions in Photoshop, but as these images needed to be of editorial standard I had to utilise a more professional way of editing. I used two skin smoothing actions on the images to eliminate any fine lines on the models face, and any goose bumps on her arms. I then added the 'sweet sunshine' action to brighten  all of the images and give it a golden summer glow as I intended the shoot to be summer/ festival themed. To finish the images off I added a vignette to give them a bit more depth and to draw the eye towards the model in the centre of the images.
x

Wednesday, 18 May 2016

Cyanotpye Printing

Before Christmas I had attempted to create some cyanotype prints. For one reason or another they didn't work particularly well so I decided to give it another go. Using a water colour board I applied cyanotype solution in the dark and let it dry. Earlier that day I had printed a high contrast photograph onto acetate, this is the image I hoped to print. 
Once the cyanotype solution was dry I placed my acetate over the it, placed glass over that and position it all in the sunlight. I let the cyanotype expose for 5 minutes and then returned to the dark room to wash it. Once I had washed the solution off I was left with a fairly decent blue print of my image.


This is the finished print. I do think it could have done with slightly longer in the sun to give it more contrast but overall I'm very happy with the outcome. I think it would be a nice idea to create a series of prints as cyanotypes, so thats something I would consider for a project next year.


x

Gum Bichromate Printing

Gum Bichromate is a printing technique similar to Cyanotype printing but using a different solution. To create these prints I coated a sheet of water colour paper in a solution made up of Gum Arabic and Dichromate. When these two chemicals are mixed together they become light sensitive. I allowed the paper to dry in complete darkness.

Once the paper had dried I placed a photograph I had printed onto acetate earlier that morning over the top and place glass over the top of that. I position all of this in direct sunlight to expose for 15 minutes. After 15 minuets had passed I quickly returned to the dark room to wash my print. 


This is the final image. For a first attempt I'm very happy with the result however I do wish the print had more contrast. This is something I would like to try out again in the future, however I would like to experiment with more colours next time.


x

Monday, 16 May 2016

Lumen Printing

In todays lesson we were looking at an alternative printing technique called Lumen Printing. Creating these prints is very similar to creating photograms, except the photographic paper is exposed using UV light and for a much longer time. 

To create my Lumen print I simply placed leaves and flowers of different densities over photographic paper and then placed glass over the top of that to keep it all still. I then positioned it all in direct sunlight to expose the paper for 30 minutes.
After the 30 minutes I took all of the flowers away and quickly scanned the image into the computer to save it. As there is no way to fix these images they can only be saved as digital copies. I opened the image up in Photoshop, cropped it to get rid of any white edging and played around with the curves to give it more contrast.


I’m really happy with the final outcome. It’s a simple technique but the results are really interesting. One problem I had with this technique was that because I had used freshly picked plants, they gave off quite a lot of condensation underneath the glass, meaning that some of the detail of the finer plants is lost. If I were to create more Lumen prints I would use only dried plants and I would experiment more with objects of varying density. It would also be interesting to use different types of photographic paper as they produce different colours.


x

Tuesday, 10 May 2016

Pinhole Photography


In yesterdays workshop we were experimenting with pinhole cameras. In this session I used 3 different pinhole cameras; one made from a formula milk tub, one made from wood and a Harman Titan Pinhole Camera.

The first camera I used was a wooden box pinhole camera. I loaded it with Ilford photographic paper in the dark room and went outside to expose it. I exposed my paper for 10 seconds before covering the pinhole back over and developing the paper. Unfortunately the paper had fallen down inside meaning it was never actually exposed. 
I used the same camera again, this time sticking the paper to the back wall of the camera so the same thing wouldn’t happen again. Again I exposed the paper for 10 seconds and despite being a little out of focus it did work.   


Next I tried out a homemade milk tub pinhole camera. As this is a rounded tub I knew the image I produced would be distorted so I was excited to see the results. I again loaded it was photographic paper but this time exposed it for 15 seconds. Although this photo is more in focus than the last it is also overexposed.


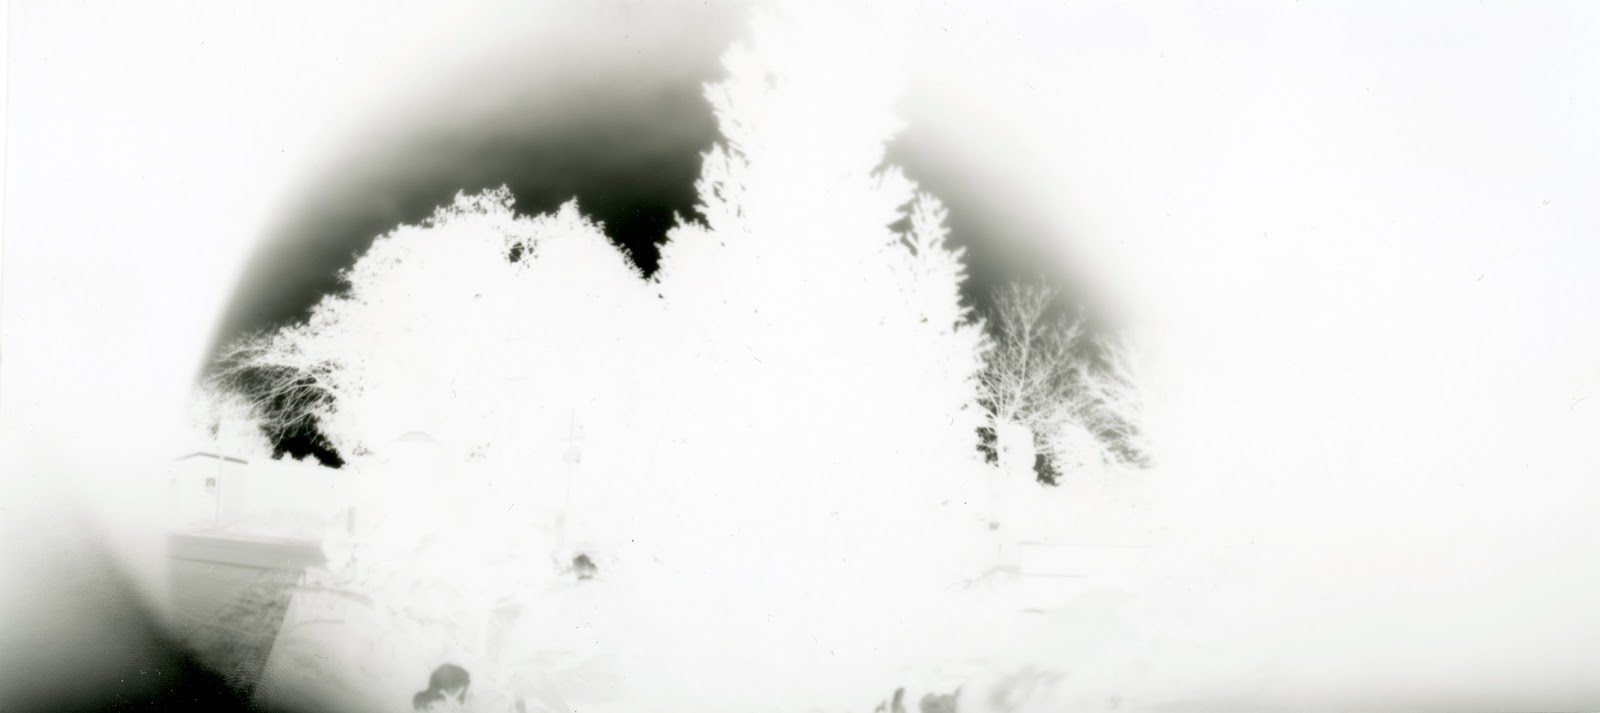
For my last attempt I used the Harman Titan Pinhole Camera, which is a shop bought, ready-made camera and should give me the best results. I loaded the magazine with a sheet of Harman Direct Positive Paper and slid it into the back of the pinhole camera. The cameras fixed aperture is F/206 and the ISO of the paper is 3, so using a light meter I determined I needed to open the pinhole for 48 seconds to get the correct exposure. Although I used a light meter I do think the photograph is still slightly underexposed as its hard to see all of the detail, it is however the best result of the day. Unfortunately it is also looking a little worse for wear as this type of photographic paper is not meant to go through the dyer. I did eventually mange to rescue my photo from the grip of the evil dryer and its safe to say I wont be doing that again.


I thoroughly enjoyed the pinhole workshop and even though none of my images are prize winning I love the idea of never really knowing what the photograph will look like or if it will even work before developing it. I would like to work with pinhole photography again and I plan to make my own little pinhole camera up to experiment with soon!

x

Wednesday, 4 May 2016

Experiementing With Flash On Location

Today we were experimenting with using an external flash in direct sunlight. For this short shoot I used my Nikon D5300 with an 18-55mm lens.  For the first 3 photos I shot using aperture priority and for the other 4 I used manual.

The 1st photograph I took using only natural light from the sun. This created very harsh shadows on my subject.
For the 2nd photograph I used a Vivitar Flash unit with a Thyristor sensor and an umbrella diffusor attachment. I selected the orange setting, which gave out a half powered flash. This softened the shadows on my subject without making the lighting look unnatural.
The for 3rd photograph I used the same flash unit but this time I selected the Blue setting which gave out a full powered flash. This again made the shadows less harsh but it also made the lighting look unnatural.

For photograph 5003 I attached a Neewer TT520 Speedlight to my camera and set it to 1/8 power. This did very slightly fill in the shadows however it wasn’t quite strong enough.
For photograph 5004 I set the flash to 1/4 power. Again this did fill in some of the shadows but still not quite enough. 
For the next photo I set the flash to 1/2 power and this filled in the shadows quite considerably without making the light look unnatural. In my opinion this setting was the best setting for the situation.
For the final photograph I put my flash up to full power. This setting was too high and washed her face out too much, the lighting also looks completely unnatural.

Before today I had only ever used flash in the studio where I have control over all of the lighting so I found it very useful trying it out on location. I would like to use flash on location again especially if I decided to do anything fashion related as it makes the model look much more attractive. I would also like to experiment using different diffusers and reflectors.

x