Showing posts with label Workshop. Show all posts

Monday, 12 September 2016

Witley Court

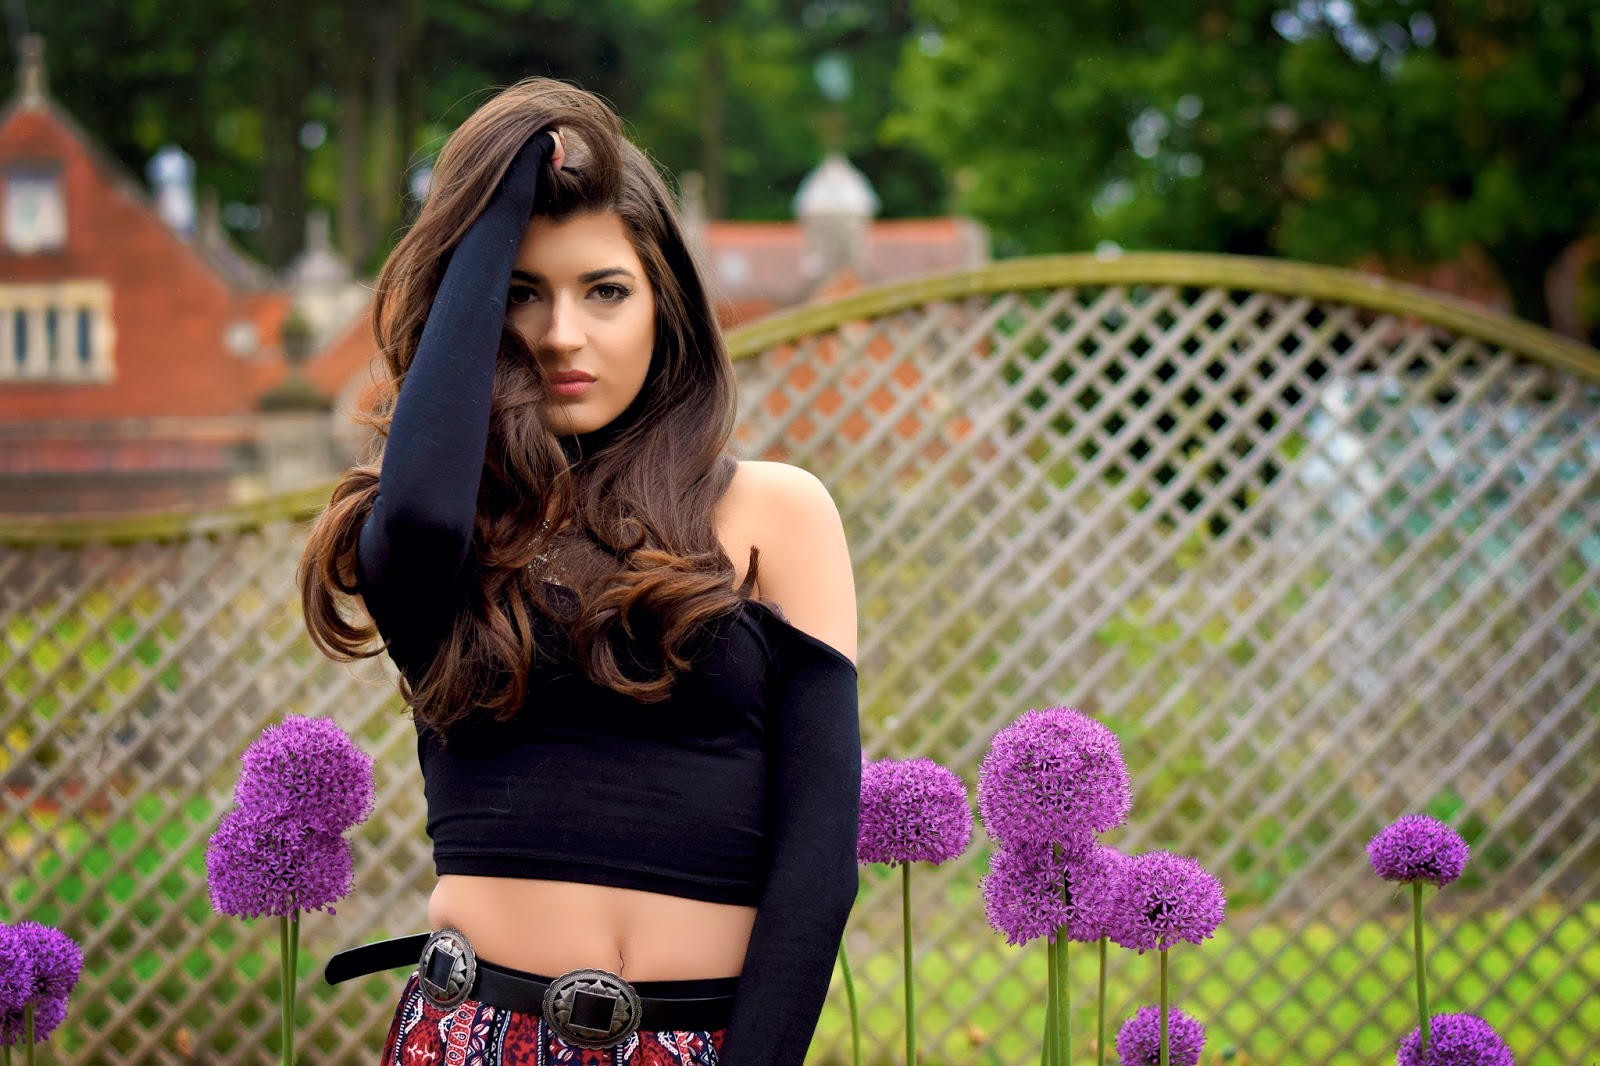
Back at the start of June we were taken to Court in Worcester to photograph the ruined stately home and the beautiful gardens surrounding it. Earlier that day we had been given a brief to follow so we knew what type of photographs to take even if that meant drifting away from the style we were used to.

The client, English Heritage, wanted some new advertising material and the brief stated that the images needed to appeal to 20-30 year olds. After a little bit of brainstorming I had come up with a few ideas as to how I would capture this place to entice a younger audience.

One of the ideas I had was to shoot through my iPhone camera. The majority of 20-30 year olds use a camera phone and share their images on social media, so I wanted to try and show that in my photos. I don't really think this worked too well as the difference in brightness between my iPhone screen and the background was just too much which meant I had to quite considerably overexpose my images to make my phone screen visible.

Another idea I had was to shoot instant photos on my Instax camera and hold those in front of what I had just taken a photo of. Although this worked quite well in practice I don't feel as though those images look that professional, as my nail varnish is quite chipped. I do however like this style and would definitely do something similar in the future.
As I wasn't sure I really hit the brief with the photographs alone I now needed to try and think of a way to do so with my editing. One style of photography I'm becoming more interested in is fashion and editorial style photography; I read a lot of fashion magazines and I've started to pick up inspiration from them. Although these photographs have nothing to do with fashion I thought I could apply some fashion inspired editing to them. 

One thing I see a lot in fashion photography is borders. I thought I could add some strong borders to my images to give them a 'young' feel. First I added a simple white border and although I did really like the outcome I still felt that the image looked too traditional. 

I did like the 'postcard' effect that the white border gave my image, however I needed to add a border that would make the image appeal to a young audience. I came up with the idea of repeating my image several times, meaning the border would just be that same image but slightly bigger. 


Overall I am very happy with my final images and I do feel that I have completed the client's brief. Although I haven't ended up with as many final images as I would have liked, the 8 I do have are of a good standard.

x

Fashion Photography Workshop

Before May half term we all completed a Fashion Photography workshop with Talia White. I've never really done fashion photography before so to say I was nervous about shooting a professional model would be an understatement. Before the model arrived Talia showed us some of her work to get a feel for what she does and to get some inspiration for when we take our own photographs.

For this shoot I used my Nikon D5300. For the first part of the shoot I used a 50mm lens, then  I swapped over to my standard 18-55mm kit lens to see the difference. It was clear to me that the 50mm was the much better lens for this shoot as it gives the images a greater depth of field. I also feel as though it makes the images sharper and generally makes them look more professional. I did much prefer using the 50mm lens for this shoot and put it back on my camera to take the last few photographs.

One of the major problems I came across during the shoot is making sure the models clothes are perfect. As the model moves around so do her clothes and as a photographer without a stylist its my job to notice when this happens. The sleeves of her top came down a few times during the shoot and her hanging straps were also on show occasionally, luckily I did happen to see that at the time. Unfortunately I didn't always see when her clothes were out of place and since looking back at the photographs I've noticed that her belt is sticking out in most of the photographs, this is something I cant fix with editing so I will have to pay more attention next time.

Another problem I had was trying to make each photograph different. If I was shooting a series of photographs for a magazine the client would expect several images, all of which should be noticeably different. Next time I work on a fashion shoot I will be more prepared with ideas for how I want the model to pose. I will also do more research into my location so I can quickly move the model around to stand in front of different backgrounds. 


I have since edited my final images from the shoot using Photoshop. To edit these images I changed the levels, turned up the vibrance, and added some actions. I had never previously used actions in Photoshop, but as these images needed to be of editorial standard I had to utilise a more professional way of editing. I used two skin smoothing actions on the images to eliminate any fine lines on the models face, and any goose bumps on her arms. I then added the 'sweet sunshine' action to brighten  all of the images and give it a golden summer glow as I intended the shoot to be summer/ festival themed. To finish the images off I added a vignette to give them a bit more depth and to draw the eye towards the model in the centre of the images.
x

Tuesday, 26 April 2016

Seeing In Black & White

Yesterday’s workshop was all about trying to imagine a scene in black and white before we captured it on camera. Trying to imagine how something would look in black and white is much harder than it looks and things I first thought would look amazing ended up looking very flat and boring once captured.

To take these photographs I used my Nikon D5300 camera with the standard 18-55mm Kit Lens. I chose to take the photos in RAW and JPEG; taking the JPEG photographs in monochrome so I could instantly see how the RAW images would look after I converted them to black and white.

Whilst taking my photographs around the campus I had to keep in mind that whatever I was photographing needed to be high in contrast. I also needed to think about how busy the scene was as you can loose a lot of detail when converting images to black and white.
Once I had taken my photos and chosen the best 9 I opened them in Photoshop. Instead of converting them into black and white in Photoshop I opened a program called silver Efex Pro 2 and applied Preset #24 ‘full contrast and structure’ to my first image. This increased the contrast and made the smaller details in the photograph much more visible. As I was going to be making a set of images and I wanted them all to look similar I saved this preset as a custom preset to apply to my other images. I then imported them all into Lightroom to save them in the style of a contact sheet.

I found this short workshop incredibly helpful as I rarely work with black and white photography. It was also useful to learn how to use a new programme which I’m sure I will use again in the future.

I am very pleased with my set of images however I do not feel as though they work all that well together. A few of the images, such as the top right corner image, the bottom left and the bottmom centre image are all macro shots which don't really fit together with the other photographs. They are also a lot darker than the others.

Next time I decide to take photographs with the intension of converting them to black and white I believe it will be easier for me to imagine how they will look before I take them. I would also like to invest in a new Lens as I don’t feel like my current Lens is as versatile as it needed to be for something like this. 

x